


Marbled Easter Eggs Using Oil
Prep Time: 10 Minutes
Dye Time: 5 seconds
Dry Time: 5 Minutes
Yields: As many as you like
Intro: Add a twist to your festivities and try these Marbled Easter Eggs Using Oil. These aren’t quite as easy as just dropping boiled eggs in cups, but it’s a blast. Bring out your crafty side and grab the oil and dye for this holiday fun.
Items Needed:
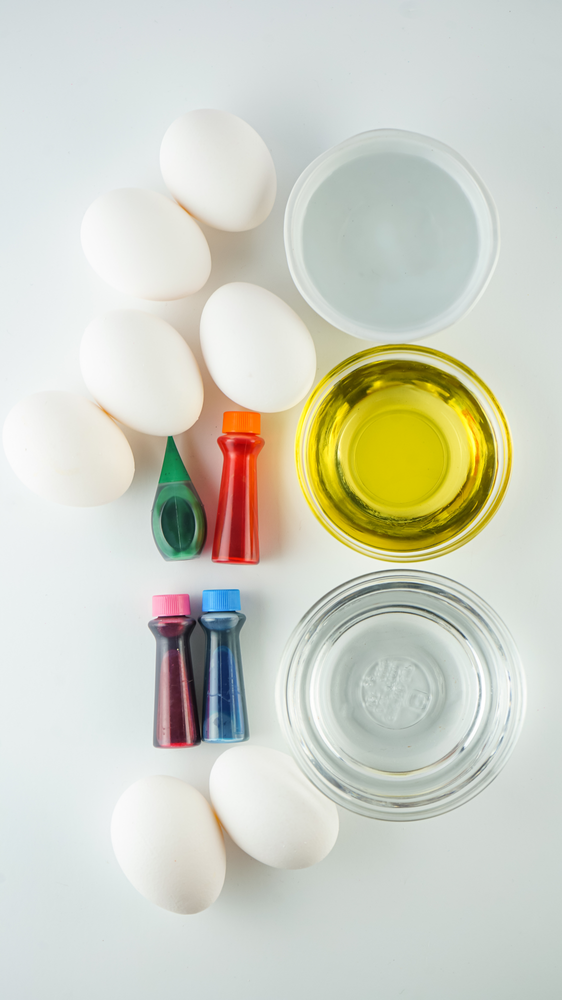
● Boiled Eggs
● ½ Cup Boiling Water
● 1 Tablespoon Cooking Oil (plus just a dab extra)
● ½ Tablespoon Vinegar
● 10-20 Drops Food Dye (I used this gree)
● Paper Towels
● Rubber Gloves
● Forks or Spoons
Directions:
-
You’ll need one bowl per color you would like to use. I used the cheap cereal bowls from Walmart because they’re cheap and the perfect size. You don’t want the water to be over half an inch because you don’t want the egg to get fully submerged when dropped in.
-
Start by adding ½ cup boiling water to each bowl along with ½ tablespoon vinegar.
-
Add 10-20 drops of dye to each bowl (one color per bowl). The darker colors don’t need as much dye, so start with 10 drops for those (purple, blue, etc.)
-
Stir well before adding 1 tablespoon cooking oil to each bowl. Leave just a bit of oil in a small dish to the side for later use.
-
Make sure your eggs are room temperature and dry. Wear gloves at this point, if desired.
-
Using your finger or an old small paint brush, make little streaks of oil all over the egg but do ot cover the entire egg in the oil. Random spots and streaks are what you want.
-
Agitate the dye and oil mixture using a spoon or fork and immediately roll the egg in it so that the entire egg has touched the dye mixture at least once. Do this super fast and immediately pull it out and wipe dry with a paper towel.
-
After wiping the egg clean, let it sit for about 5 minutes back in the egg carton, to dry.
-
Repeat for all the eggs you would like to do.
Tips:
● The only color I ran into issues with was green. I tried three different brands and the Mccormick green water based dye was the only one that worked well enough.
● Gel dye worked great too, it just takes a bit more stirring to ensure the dye dissolves.
● Lighter colors will need more dye, so use the 20 drops for those colors, such as pink and green.
● Do not leave the egg to sit in the dye or it won’t marble. It will just fully turn the dye color.
● Wiping the oil on the egg before dipping it is vital to the success of the marbling design. If you don’t, you will be very hit or miss with the marbling.
● It’s vital that your bowl is only full of enough boiling water that when an egg is set in it, the water covers about a third of it.This is another important step to ensure the dye doesn’t overwhelm the egg and mess up the marbling look.
● It’s also important to get that dye wiped off the egg immediately upon pulling it from the dye. This process is a quick one when it comes to the dying aspect, but it’s super fun and satisfying.
● You can use whatever cooking oil you like. We tried vegetable oil, avocado oil, and olive oil and all worked the same.
● This also works on farm fresh or brown eggs, the colors will just look a little different, but still gorgeous.
● I tried every method on the internet, including the one listed on the official dye sites. None of them worked, or it took hours to achieve. This is the only method I’ve found that’s quick and actually works every time IF every step is followed properly.
marbled-easter-eggs